Showing posts with label pin ups. Show all posts

Wednesday, March 30, 2011

Make Your Own 3D Rosette Flowers

Wanna make some fun, 3D embellishments?

No special glasses required ~ these babies just POP with layers!

Here are the materials needed:


*scissors
*pop up adhesive
*glue gun
*rhinestones
*card stock
*images


First, cut out the images you want to use (you can use digital collages, or even just punch out sections of pretty paper).  I cut mine as 2 inch circles.

Next, use your scallop icon in your Storybook cartridge to cut out a black layer 2.5 inches for behind your image.

I used the flower icon (shown below) from the Plantin cartridge to make my flower layers.  I cut one about 3.25 inches and then a black layer about 3.75 inches.


When they are cut, simply fold each layer in 1/2 (folding toward you) so that the edges of each flower petal stand up.  Do that with both your patterned paper and the black flowers.

Using foam squares, layer the flower sections together.

After hot-gluing your image to your scallop layer, add rhinestones.  I heat-set mine with a Tulip heat tool.

Now you can add them to your flowers with foam adhesive.


Simple as that! 

These are fabulous to use on scrapbook pages, cards, frames and invitations.  They make adorable party favors and cupcake toppers too!

You can check out my listing for these puppies, too, if you'd like to purchase some for yourself.


Enjoy, and happy crafting!

xoxo
Genevieve

Tuesday, July 20, 2010

Sun Kissed


I have been having so much fun with the Sun Kissed line from Bo Bunny this week!  I find myself using it over and over again.  The colors are so bold and beautiful ~ perfect for summer pages!  I just finished the layout pictured above.  I love scrapping ordinary days.  Many times, they're even more fun to work with than holiday pages (too much pressure to make Christmas pages as magical as the holiday!)

The picture really captured the season for me.  I can't count how many times Jackson has "helped" water the plants, only to come to the door covered in mud and soaking wet!


Jack and his cousin had a "blast" with the Buzz Lightyear rocket water toy.  Again, Bo Bunny was the perfect fit!

The paper really lends itself to cutting out sections and layering.


Another fun summer memory has been the day we played Minute to Win It games in Nana's backyard.  We had SO much fun and I cannot remember the last time I laughed so hard!


My mom was the first person to win a game (apple stacking).  This picture is worth a thousand words ~ it's one of my favorite images of her.


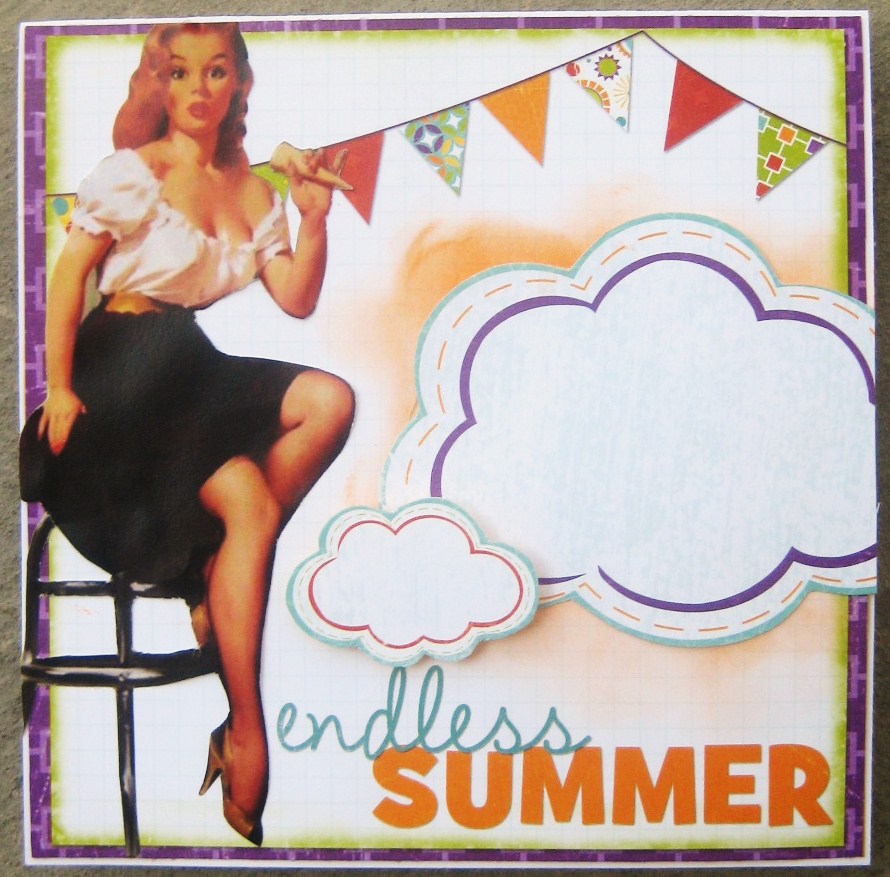
I've also started cutting and layering the Bo Bunny Sun Kissed line for my summer cards.  I had lots of fun with this collage greeting.  I used a kitschy pin-up and added her to the Bo Bunny banner journaling square.  Then, I inked some orange onto the card and added some 3D clouds.

Card available on Etsy:


Hope you've enjoyed this week's projects!  Enjoy and have a colorful summer!

Tuesday, June 22, 2010

BUY ONE GET ONE FREE SALE TODAY!


Special 24 hour sale:

BUY-1-GET-1-FREE

on all patterns at my ArtFire shop!

Orders must be made from the ArtFire shop. 
Simply email me with your choice for the free pattern after checkout, and I'll include that one in your email as well. 

Here are some of my personal favorites:


Thanks so much and happy crafting!

Friday, March 19, 2010

How to Make Frou Frou Cupcake Toppers


These are some cupcake toppers that I made for a recent birthday party.  They are SUPER easy and were a huge success.  I saw all the ladies leaving with them in their purses.  :)

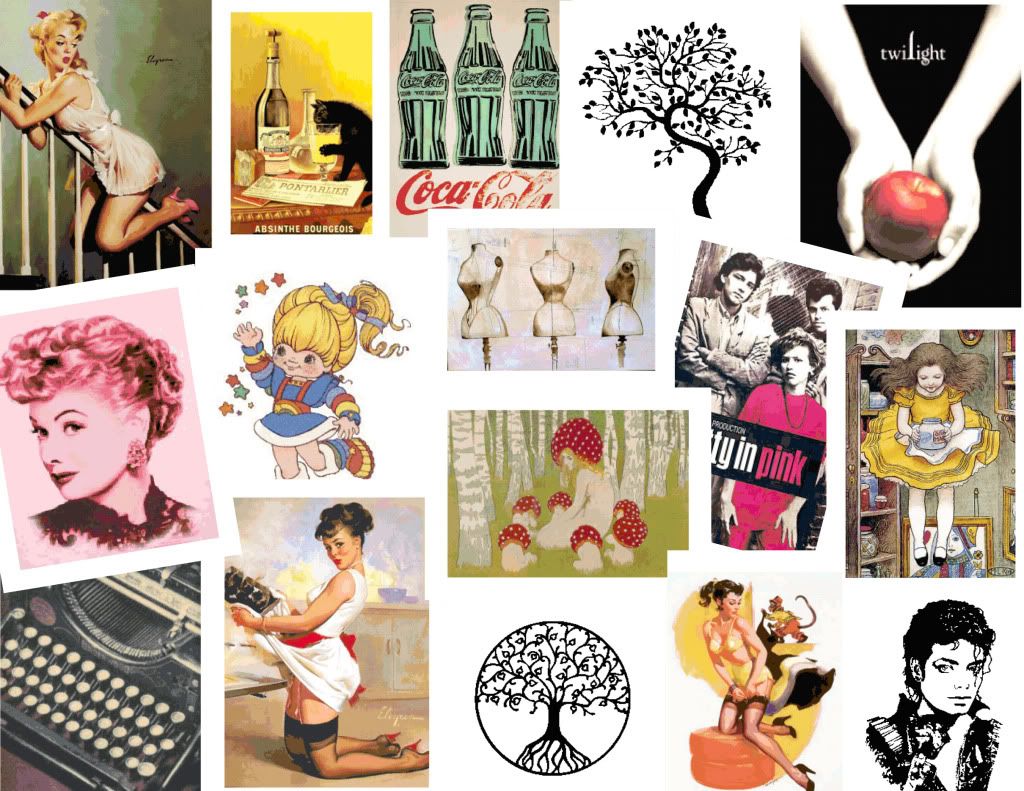
Here are some quick directions, along with the JPEG sheet I made, if you'd like to make some for your next party.


Supplies needed:

*scissors
*glue gun
*collage images
*glitter paint
*rhinestones
*craft ribbon (I found some in the wrapping paper section at Michaels)
*card stock
*lollipop sticks (can be found in the chocolate making section of the craft store)


I first cut each image out and added glitter glue and a rhinestone to each gown.


Then, I accordion folded the craft ribbon and glued it to the back of each image (this is the most time consuming of the entire process.  You have to go slow when gluing around the back edge.)


I cut squares out of card stock with my Cricut and glued them to the back so that the piece would be sturdy.  Finally, I added some glue inside one of the bottom folds and inserted the stick.  Easy as pie!


This is a great craft because there are so many variations you can use.  Find your favorite digital collage or image and you can create any themed party you want!

For more fun JPEG images, please be sure to stop by my Collage Crazy Etsy shop and happy crafting!