Showing posts with label flowers. Show all posts

Tuesday, March 20, 2012

Springtime

A breath of fresh air throughout the city and children coming outside to play after school each day - must be Spring!

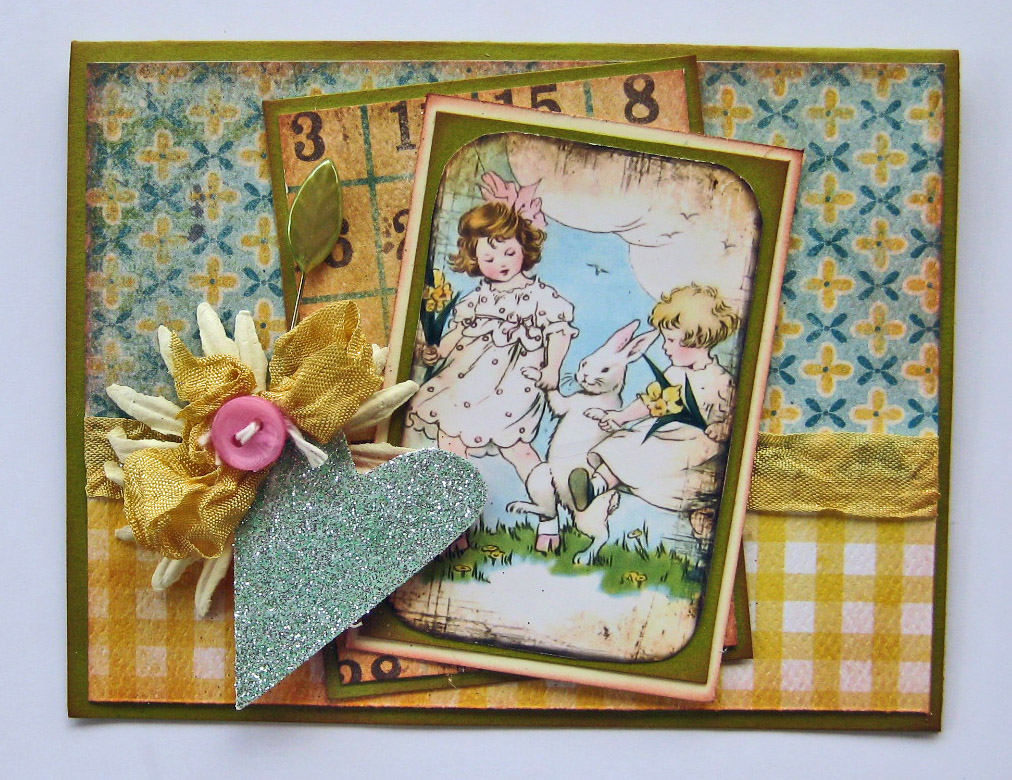
I wanted to celebrate the season with some fun, happy cards.  Springtime means color, new life and joy.  I made this cute ducky card for my sister using some adorable paper from October Afternoon.


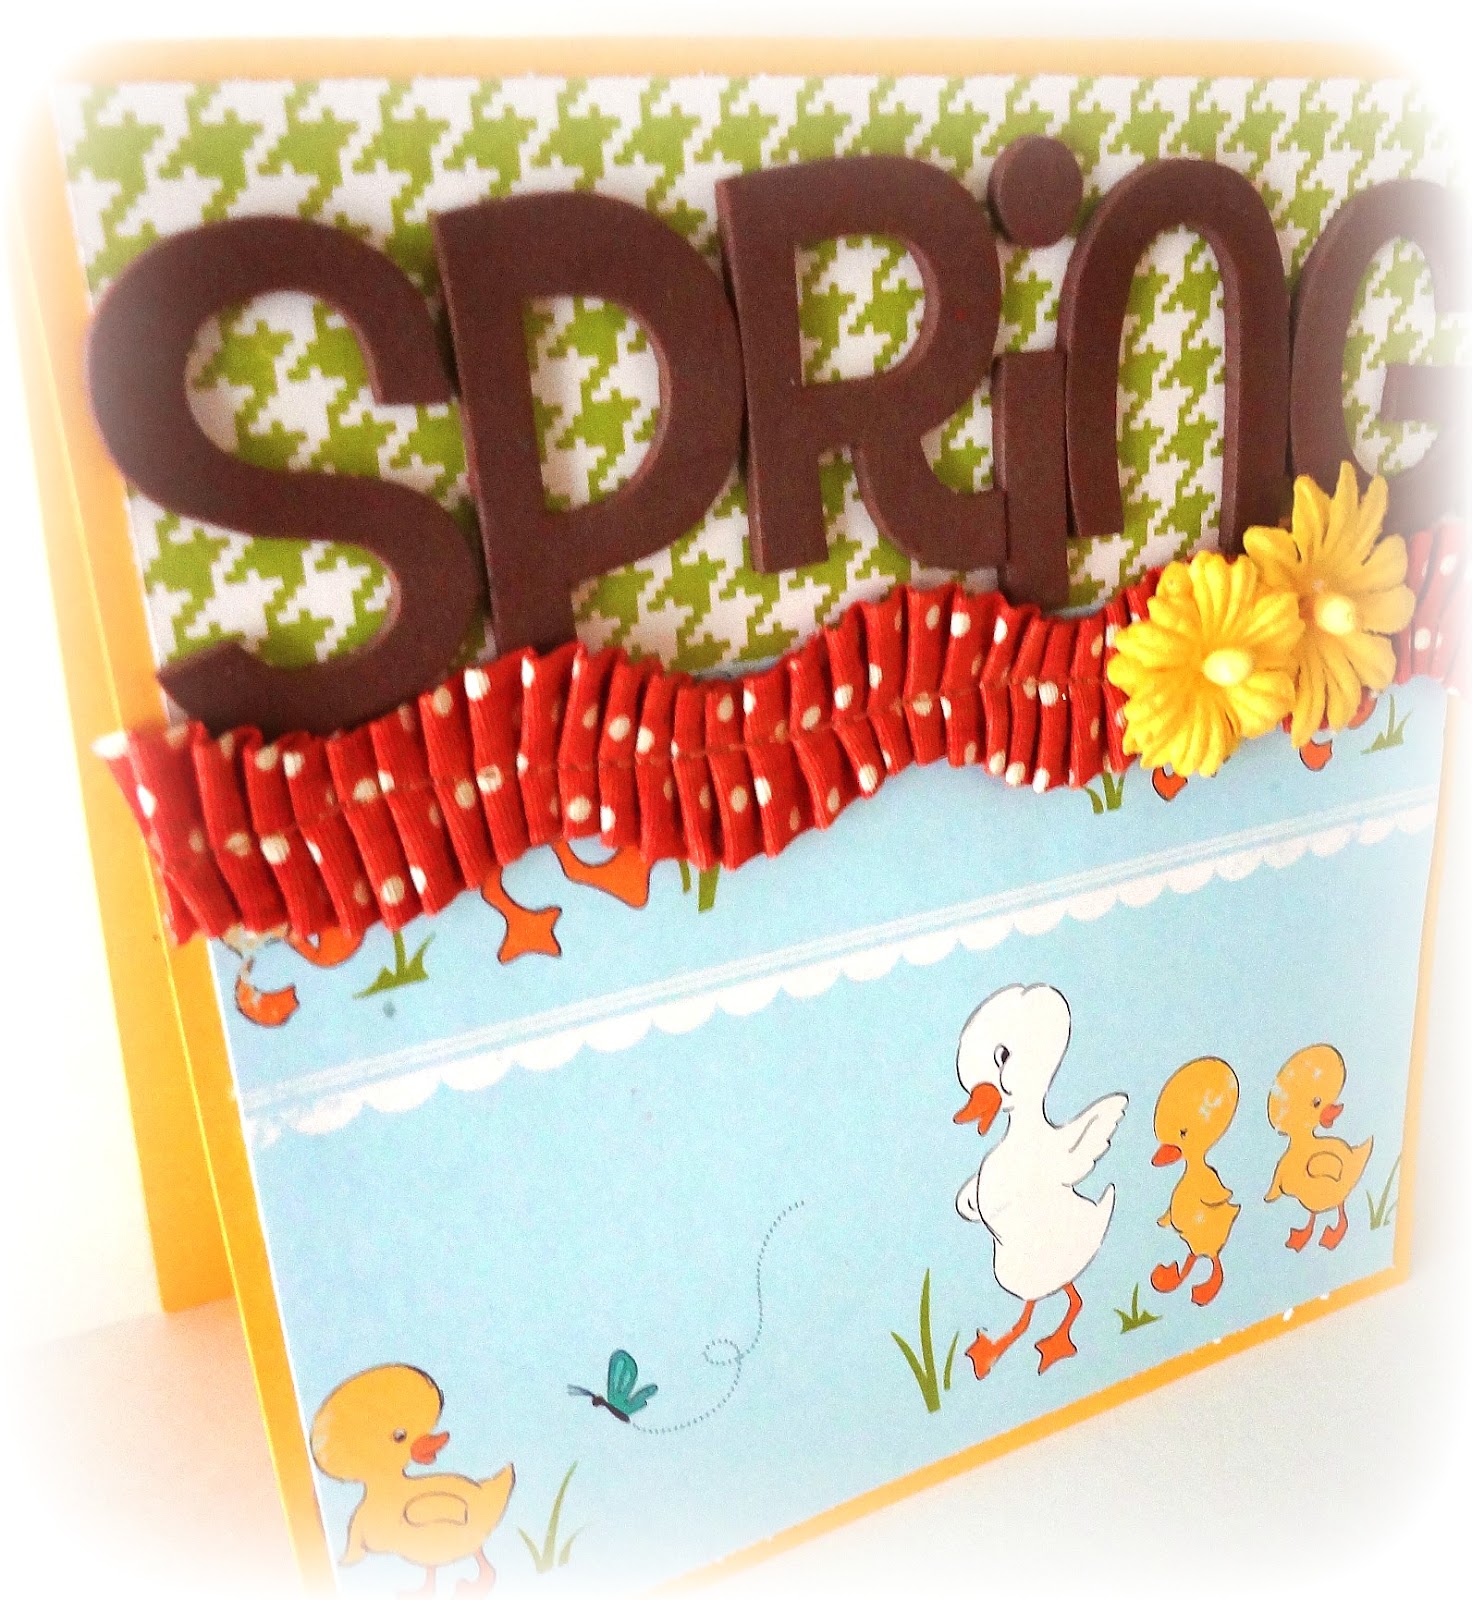
I love this paper!  The houndstooth pattern is the backside of the duck print.  I used some Thickers to spell out "Spring"and then topped it off with some Vintage ribbon and flowers.

Then I thought, why stop there?  Any cheerful pattern will make a fun Spring greeting!


I used the same card layout design to make this polka dot piece.  I really enjoy working with monotones, so I used the teal blue for the top of the card, along with the lettering.

This one is available at my Bella Stitchery ArtFire shop and is fully embellished inside as well.

Hope you enjoy the season and take time to enjoy the delights of handmade!

xoxo
Genevieve


Saturday, January 28, 2012

Soup for the (Crafting) Soul


I saw the Homemade 6 Bean Soup line from Jillibean Soup this week and just had to have it!

I dug up some pictures I had of me crafting away from a few years ago.  Scrapbooking is such a huge part of my life and I wanted to have fun with the handmade, crafty feel of this paper line.

I had lots of fun with this one and was able to layer tons of embellishments
(which always makes me feel justified in my scrapbook spending. 
See honey, I do need all of these things!)


I used some great K and Co die-cuts that have been in my 'random stuff' drawer for years,
 along with LOTS of glittery cardstock flowers.


Here's a quick look at the Jillian Bean Soup collection, too.  It's super cute!


Thanks for stopping by, and happy crafting!

xoxo
Genevieve


Wednesday, April 13, 2011

Make Your Own Embellishments Card Class


I love learning new techniques. 

I dedicated this special card class to making embellishments from paper. 

Join me for this fun class on Sunday, April 17 (1-3pm) and we'll be making flowers, roses, rosette seals and more!  Fun stamping and glittering will take center stage as well!


Call, or stop by, Scrappin' Time to reserve your seat!

5915 South Eastern Avenue #106


Las Vegas, NV 89119

702-898-7414 


See ya there!
xoxo
Genevieve


Friday, April 1, 2011

Vintage Easter Card Class

Create four unique spring and Easter themed cards this Sunday, April 3 at 1pm.  The cost of the class is $25.

Call or stop by Scrappin' Time   to reserve your seat!

Scrappin' Time
5915 S. Eastern Ave. Suite 106
Las Vegas, NV 89119
702-898-7414

We'll do lots of fun stamping, embossing and embellishing! 


Kits available upon request.

Hope to see you there!

xoxo
Genevieve


Whoooo Is Having a Birthday?


I recently made this fun little card for my dad.  I love owls ~ so flippin' cute!


Thanks for stopping by, and happy crafting!

xoxo
Genevieve

Wednesday, March 30, 2011

Make Your Own 3D Rosette Flowers

Wanna make some fun, 3D embellishments?

No special glasses required ~ these babies just POP with layers!

Here are the materials needed:


*scissors
*pop up adhesive
*glue gun
*rhinestones
*card stock
*images


First, cut out the images you want to use (you can use digital collages, or even just punch out sections of pretty paper).  I cut mine as 2 inch circles.

Next, use your scallop icon in your Storybook cartridge to cut out a black layer 2.5 inches for behind your image.

I used the flower icon (shown below) from the Plantin cartridge to make my flower layers.  I cut one about 3.25 inches and then a black layer about 3.75 inches.


When they are cut, simply fold each layer in 1/2 (folding toward you) so that the edges of each flower petal stand up.  Do that with both your patterned paper and the black flowers.

Using foam squares, layer the flower sections together.

After hot-gluing your image to your scallop layer, add rhinestones.  I heat-set mine with a Tulip heat tool.

Now you can add them to your flowers with foam adhesive.


Simple as that! 

These are fabulous to use on scrapbook pages, cards, frames and invitations.  They make adorable party favors and cupcake toppers too!

You can check out my listing for these puppies, too, if you'd like to purchase some for yourself.


Enjoy, and happy crafting!

xoxo
Genevieve

Thursday, December 2, 2010

Critter Christmas Card Class!

Join me at Scrappin' Time this Sunday (Dec. 5) at 1pm for this darling Christmas card class! 

These happy holiday mice are the perfect greetings to send to family and friends this year!  Each one is sparkly and cheerful and just downright adorable!


Cost of the class is $25 and includes all the materials needed (please bring the basics: scissors, a strong adhesive such as Zip Dry, and 3D foam adhesive).

Call the store at 702-898-7414 or stop by:

5915 South Eastern Avenue #106

Las Vegas, NV 89119

to reserve your seat!


Would you like to make the cards, but don't have the time to come into the store for the class?

Kits are now available!!

When you call to reserve the class, just mention that you'd like the kit only and I'll be sure to have it ready for you (along with pictures and detailed instructions for your convenience). You can also find ready-made kits at the store anytime before the class day (while they last). Just pick it up and scrap at your leisure!!

If you're not here in Las Vegas, simply email me for a kit and I can ship it to you right away!

Saturday, October 23, 2010

Birthday Girl

I recently made this birthday card for a very special 4-yr-old.  I thought the image looked just like her, so I was excited to make this unique greeting for her. 

I was also in the middle of moving, so I only had about 1/2 my scrapbook supplies on hand (how did I make it through without my goodies, you ask?  It wasn't easy!)

I had no access to buttons, brads or ribbon, so I had to be a bit creative.  :) 
I went a little Stickles crazy here and then embellished the card with tons of flowers and rhinestones.  The scalloped ovals and swirls in the corners are from the Storybook Cricut cartridge.

Wednesday, September 29, 2010

These layouts are "POE"sitively fun!

Once upon a midnight dreary, while I pondered, weak and weary,
Over many a quaint and curious volume of forgotten lore,
While I nodded, nearly napping, suddenly there came a tapping,
As of some one gently rapping, rapping at my chamber door.
"'Tis some visitor," I muttered, "tapping at my chamber door -
They must be bringing me a new My Mind's Eye layout!"

Ok ~ so I took some liberties there.  :) 

I've been having so much fun with the new My Mind's Eye Haunted line!  I made both of these layouts this week using lots of colorful Distress Ink, along with Prima and Petaloo goodies.


I used kind of a collage technique with both pages and added TONS of crystals (all by hand) on the second page.
I used the new Happy Hauntings cartridge by Cricut to make the photo frames for both layouts.


I also enjoyed using lots of my Vintage style goodies (I have a tendency to hoard them).
Hope these two pages give you lots of ideas!  Thanks so much for stopping by, and happy crafting!
XOXO
Gen